Fine. If Pinterest wasn't going to play nice, I'd wing it.
Ingredients:
3 yds of fabric, your choice of colors. I went with red, dark grey, and light grey
1 foam wreath form
pinking shears
swag
1) I'm not big measure-r, so I just started cutting approximately 1-2" strips of fabric and eyeballed the length. I wrapped the first one I cut around the wreath to see what it would look like. Cut to your desired length.
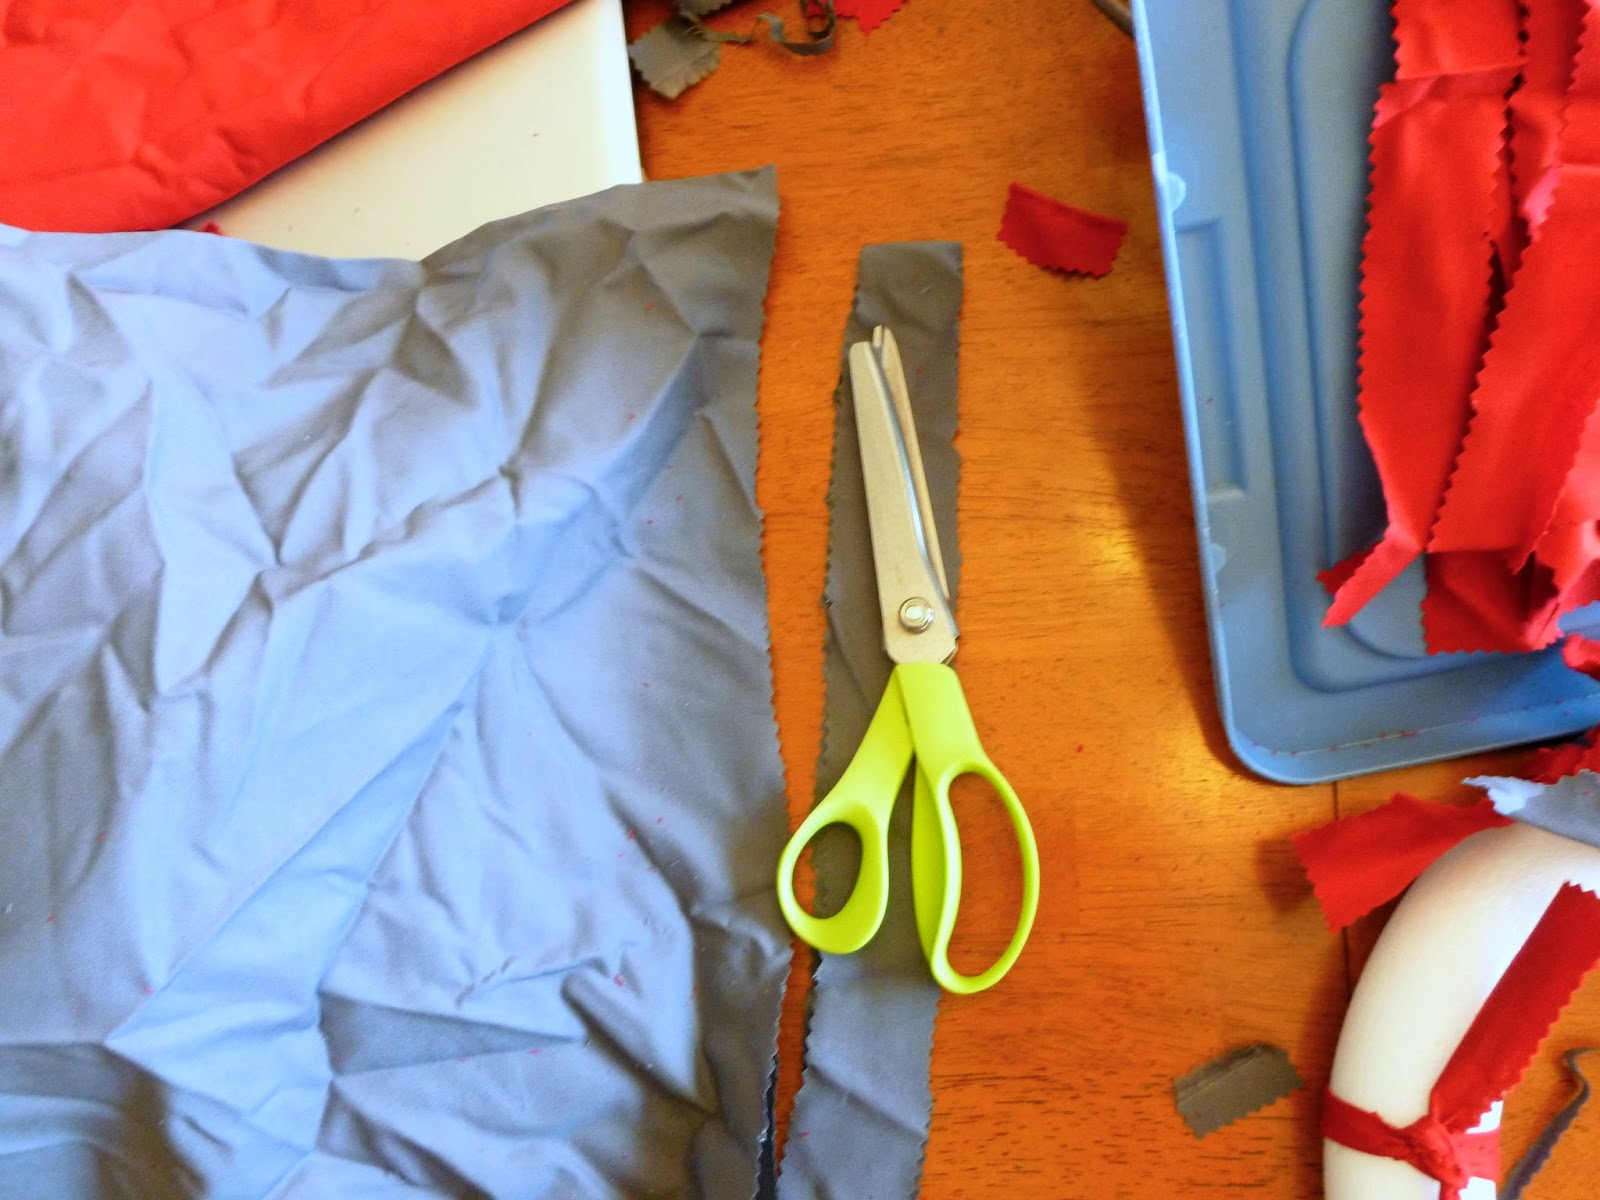
(I'm a naughty crafter and didn't even iron the fabric)
2) Tie strips around wreath form however you want. I'm a bit OCD about patterns, so I went red, light, dark. I thought about doing "rows" of colors, but Andy liked them all mixed together.


3) You can have the knots point any direction you want for different effects.

(Knots facing up, with a few turned back so I can glue something nifty to the corner)

(Knots facing out)
4) I added my Buckeye necklace to the wreath and attached them. (I also bought wooden letters O,S, and U, but thought they took up too much room.)


No comments:
Post a Comment