The problem with our "Tech Zone," which is just a ledge nailed into a small recess in the wall, is that it was too small to hold our laptops and in a very random place. In our open-floor-plan, it's between the basement door and the stairs. We store Rufus's food and water under the little ledge and anything that was in our way on our kitchen island was deposited in our "Tech Zone." So, in all reality, it became a "Random Clutter Zone" with coupons, cookbooks, wallets, glasses, cameras, chargers, spare change, keys, Kleenex. Ugh! It was a mess. (I do consider us blessed to have the shelf already built - some people have to DIY those shelves and ours matches the rest of the trim in the house. So I won't complain about it.)
So I pinned a ton of command centers and we went to work.
To start off, we had to clear off everything. Except my iPad. And the chargers.

Next step? Raid Target. We had an idea of what we wanted to with our laptops. We wanted to store them upright so we could charge them and they wouldn't take up all the room on the ledge. We scoured Amazon.com and office supply store websites. But everyone knows that Target is pretty much awesome, so that's where we ended up. I think we spent around $35 total.

We really lucked out with these file holders. They have holes, presumably to look stylish and sophisticated, that happen to also be the perfect size for screws!
We planned where we wanted everything to go and Andy started drilling and hanging.


I don't think there was a single Pinterest command center that I wanted to duplicate. Every home has different clutter and I think it helps to plan your command center around your clutter. Ours was laptops, papers and coupons.

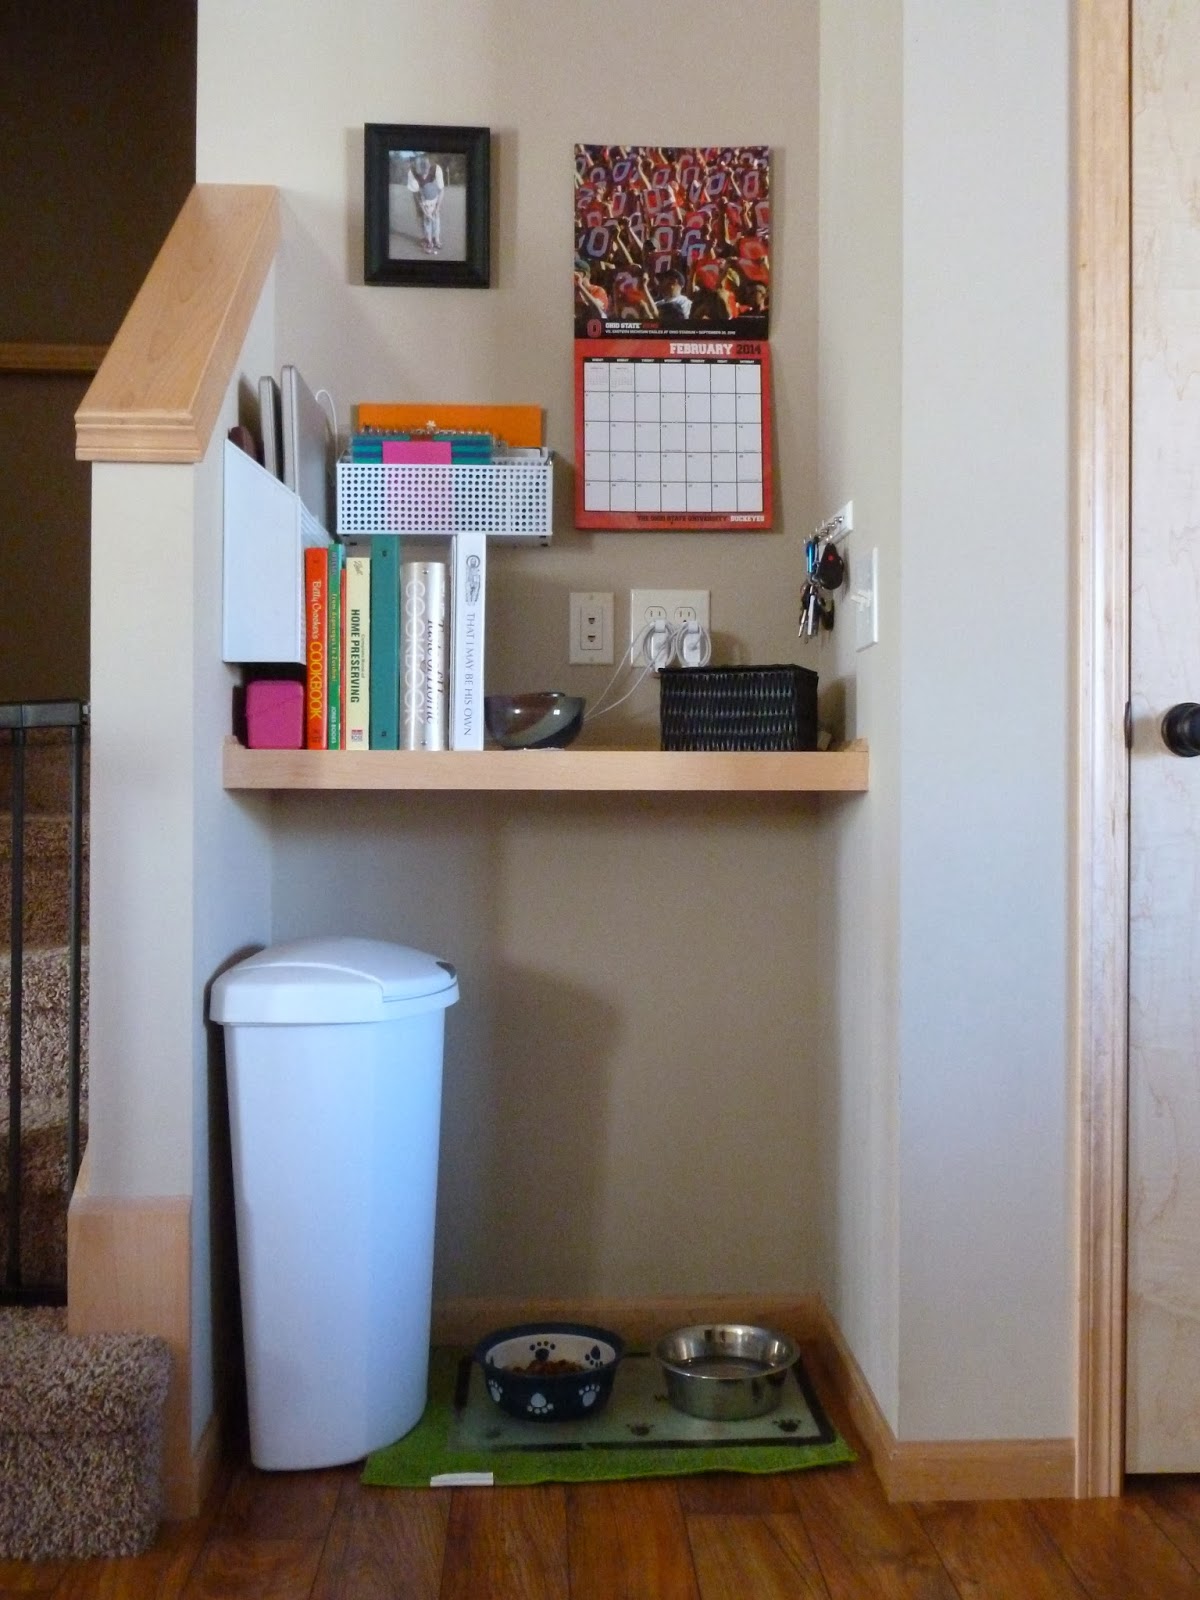
I'm going to expand on this later by getting a corkboard to hang above the keys and I want to put a dry-erase board on the other side of the stairs so I can write messages and Andy can write "Poop."
Eventually we'll get around to the closet by the front door and our mudroom/laundry room. :)


