Showing posts with label crafts. Show all posts

Monday, February 3, 2014

DIY Canvas Quotes

I love the quotes on canvas that you see on etsy and pinterest all the time. The problem is I'm too much of a DIY-er to buy them (I know, I know, it supports small businesses).

It was about as time-consuming as I expected (probably about 2 hours per sign).

1) Use a nifty font website to create your template. I used Dafont.com and downloaded a bunch of fonts and made my templates in Word.

2) Once you get them juuuuust right, print them off. On the back side (the side that doesn't have the font), shade behind all of the words with pencil. You'll be making a transfer. Looking back, I should have tried using white colored pencil for the transfers I was planning on doing on the green canvases. I could barely make out the pencil.

3) Paint your canvases.


4) I put a book under my canvases during the transfer so that my pencil wouldn't stretch the canvases or leave dents (Game of Thrones is both a good read and a good crafting tool) and traced the letters, pressing down hard, to transfer the lead from the back side of the paper onto the canvas.


5) I used Sharpies to fill in the letters I traced. It was much easier than paint and I had more control. I used silver and gold markers on the green and red canvases. It was pretty easy to tackle a canvas or two while Bubby was napping.


6) Voila!


Wednesday, December 11, 2013

Why salt dough ornaments are a tease (and other Christmas happenings)

Pinterest was going overboard with all of the cute salt dough recipes and ornaments on all kinds of pages (Holiday, Kids, DIY, EVERYWHERE!)

It was so easy, the pins promised. It was so cheap, the pins promised. It was so cute, the pins promised.

Bait taken.

Cheap? Sure, when you have most of the supplies on hand.
Cute? The jury's still out.
Easy? I almost abandoned this project three times. It was almost a pinterest fail.

Ingredients:
1 cup flour
1/2 cup salt
1/2 cup water

Mix all ingredients together.

Easy! Especially when Bubby is helping "cook."

Knead until a ball of dough forms. Bubby played with it for about two minutes before he got bored with dropping pieces of it onto the floor. (I must remember that he is only 15 months old, which means a two-minute attention span is actually an accomplishment.)


Save dough in container for about three days until you summon enough courage to press a toddler's foot into it.

Form two balls out of dough. Pick pieces of dog fur out of dough ball. Press flat.

Press screaming toddler's foot into flattened dough.

Repeat. Give toddler iPhone for two minutes as a thank you.

Poke holes in the top (mechanical pencils without the lead pushed out work nicely).

(There are no pictures of these processes)

Let dry.


For two weeks.

None of the sites I checked mentioned anything about taking two weeks to dry. I set them on a cooling rack. I set them on waxed paper. I flipped them over (and prayed that the footprint would be preserved). I contemplated baking them, but didn't really feel like running my oven at 175 degrees for over an hour for two piddly salt dough ornaments.

On the second day of the drying process, the footprint flattened out and I thought all was lost. However, DO NOT ABANDON HOPE! The footprint will flatten out and then the rest will flatten and you'll be okay.


I finally got around to painting them.

And the painting experience was horrible. Maybe I set my expectations too high. I'm used to painting things like canvas or paper or rocks. Things that are not highly water soluble.

I couldn't figure out why my paint wasn't sticking if I brushed over it more than twice and then I realized that the dough had become wet and softened and was getting all gummy again.

When you paint these buggers, make sure you glob on the paint and dab rather than swipe. Also, don't go over an area more than once.

It dried pretty quickly, and it's kind of a success. One definitely looks better than the other. I think they are very third-grade-holiday-craft-from-art-class-ish. But I like 'em!


String ribbon through the hole and hang on the tree. We aren't cutting a tree this year since we'll be out of town, but you can use your imagination.

We also took our family photo. I was tempted to make it all Pinterest-y, but that's not really our family. We aren't always coordinated and matchy. We aren't always smiley. Rufus jumped into and out of about six takes. Sparkles don't fly in the air around us. There is no bokeh. No cute chalkboard signs.

So this year, it's a good ol' selfie.

My favorites:


The one we are going with:


Saturday, November 9, 2013

DIY Tied Wreath

Our neighbor is a Michigan fan, and every year, he hangs a flag off his front door (and every year, Andy crosses the street to go around his house on our walks). Our neighbor is probably pretty nice (we don't know him very well), but football rivalry blood runs deep in my husband's veins, so sometimes, he takes drastic measures. To show our Buckeye pride, I wanted to make a Buckeye wreath. Normally, Pinterest is my go-to DIY site. However, all of my wreath pins led to Etsy sites where I could buy a wreath for $XX plus shipping, or were dead ends (Oh, 404 Error, how I loathe thee!).

Fine. If Pinterest wasn't going to play nice, I'd wing it.

Ingredients:
3 yds of fabric, your choice of colors. I went with red, dark grey, and light grey
1 foam wreath form
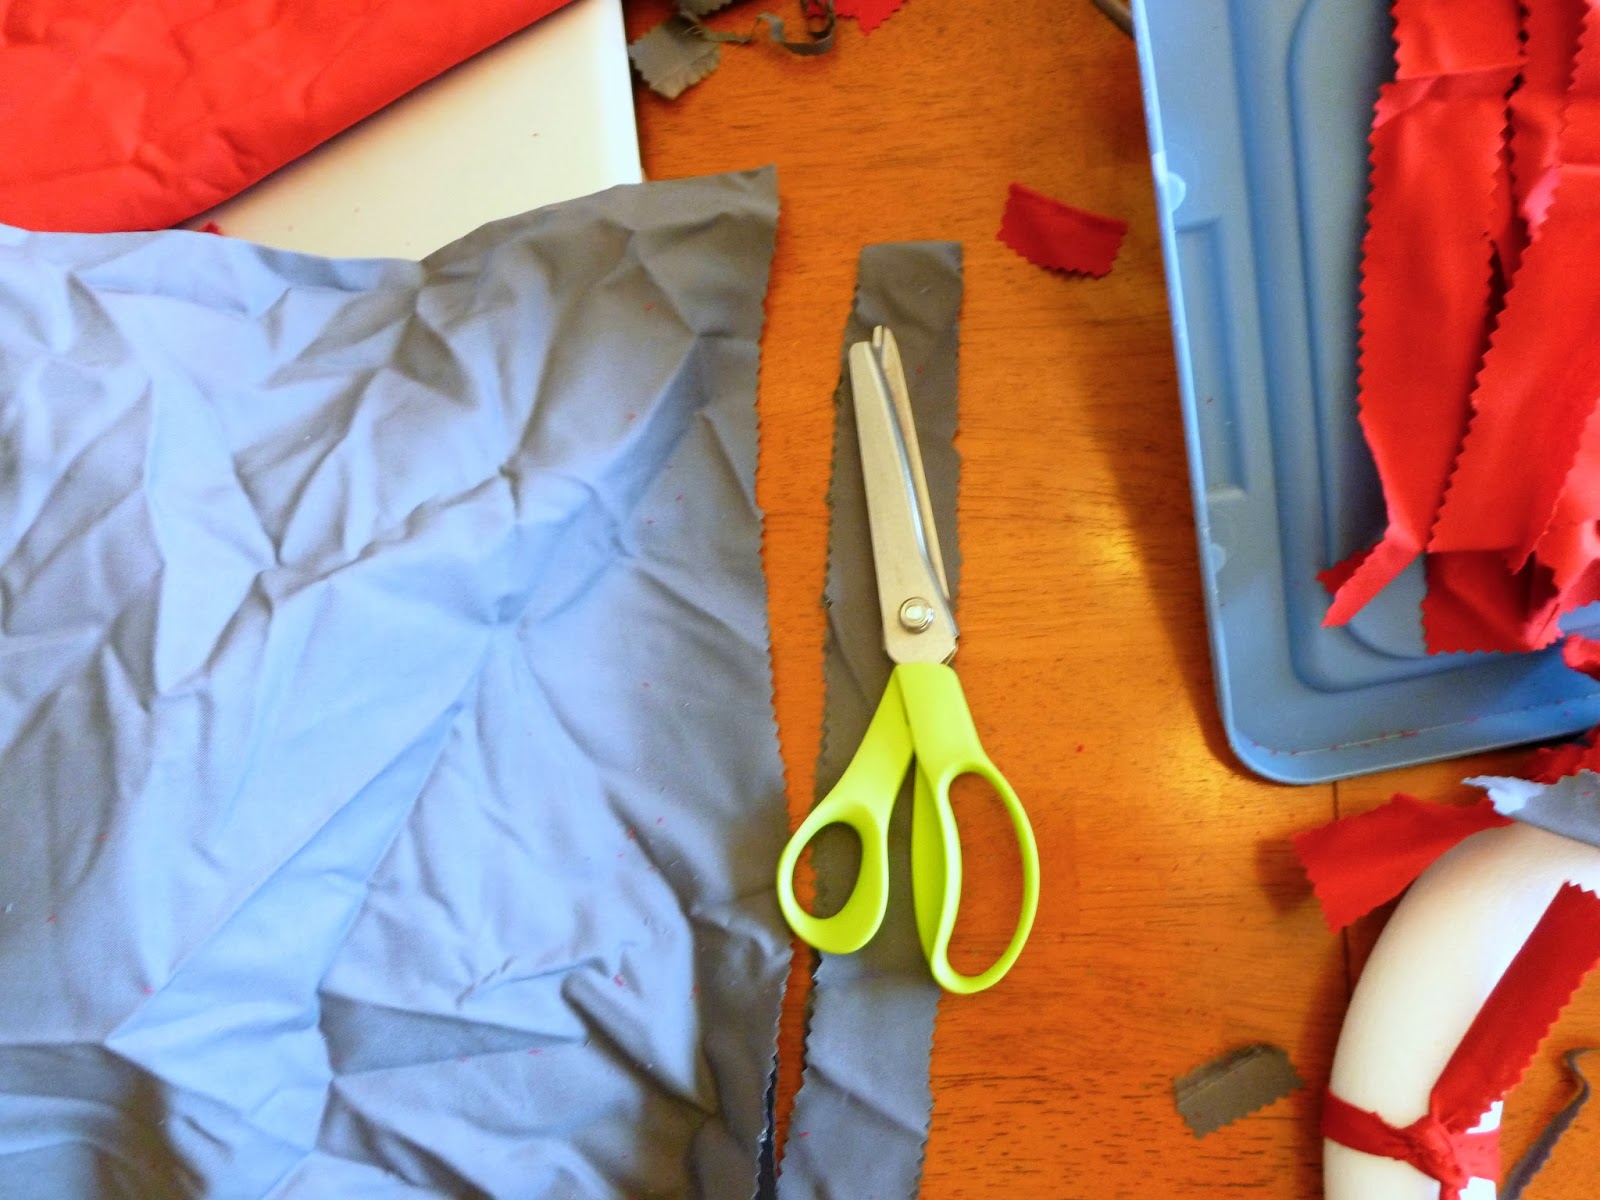
pinking shears
swag

1) I'm not big measure-r, so I just started cutting approximately 1-2" strips of fabric and eyeballed the length. I wrapped the first one I cut around the wreath to see what it would look like. Cut to your desired length.
(I'm a naughty crafter and didn't even iron the fabric)

2) Tie strips around wreath form however you want. I'm a bit OCD about patterns, so I went red, light, dark. I thought about doing "rows" of colors, but Andy liked them all mixed together.


3) You can have the knots point any direction you want for different effects.

(Knots facing up, with a few turned back so I can glue something nifty to the corner)

(Knots facing out)

4) I added my Buckeye necklace to the wreath and attached them. (I also bought wooden letters O,S, and U, but thought they took up too much room.)


Sunday, May 5, 2013

One Fun Pin Win

Cost: $28: 4 hooks @ $5/hook, 3 feet of wood trim @ $1ish/foot, $4 for spray paint. I already had the frames and photos. I still don't have a good photo of the bubbaloo and me to put in the last frame.

Two coats of spray paint on the already cut wood trim and I had a nice even color. I eye-balled where I wanted the hooks and pre-drilled the holes. We already had black cabinet screws from the Disaster* and used those to hang the coat rack. We had to put the wood trim up first and then the hooks because the screws went all the way through the board. I figured out where I wanted the photos and Andy and I used the level to hang the nail holes at the same level.

Final result: